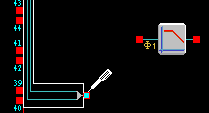
1.Drag the mouse cursor near the contact, or wire you wish to connect a new wire to.
2.The contact will highlight, or the wire will display a red connection dot, where your new wire is to begin. T the cursor will also change to the wiring cursor at this point.
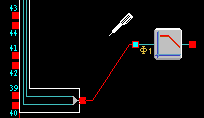
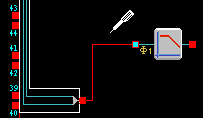
3.Press the left mouse button, and hold it down. A red wire will appear on the screen between the wiring start point, and the current cursor position. (Alternatively you may press and release the left mouse button in one click, not having to keep the left mouse button held down.)
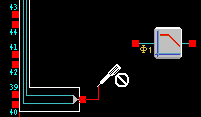
4.With the wire connected to its starting point, drag the cursor towards the contact or wire you wish to connect it to. The end of the wire will leave the mouse cursor, and snap to valid locations as you approach them with the mouse cursor.
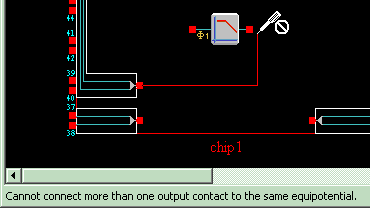
5.If the connection you are trying to make is invalid for any reason – the cursor will change to the invalid wiring cursor, and a message will be displayed in the status bar describing the invalid connection.
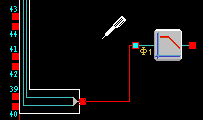
6.Press the right mouse button while connecting the wire to toggle between the various routing methods available. This will allow you to customize the initial routing of the wire.
7.Once you are satisfied with the connection you have made, release the left mouse button to create the new wire. (Alternatively – if you pressed and released the left mouse button in step 4 above, press and release the left mouse button at this point.)
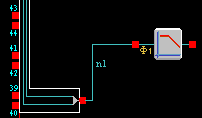
8.Your new wire is now made – and will change to the default wire color as designated in the wire preferences (Available from the Preferences option of the Settings menu). A new wire name will also be generated if this wire was made from a contact to another contact.