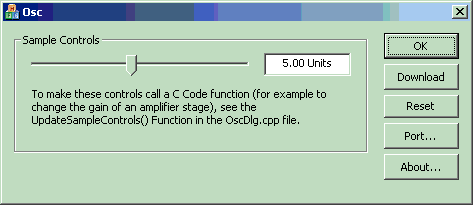
Description of the Osc Prototype Application Buttons

·The "Close" button closes the application.
·The "Download" button causes the primary configuration file to be sent to the Okika Development Board via whichever Serial or Parallel port was selected by use of the "Port…" button.
·The "Reset" button causes a RESET command to be sent to the Okika Development Board via whichever Serial or Parallel port was selected by use of the "Port…" button.
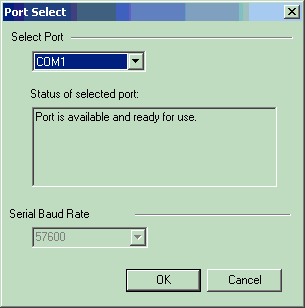
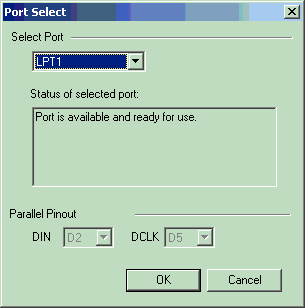
·The "Port…" button brings up a "Port Selection" dialog window that allows you to select the port you wish to use. You can use either a serial or a parallel port. You would of course need to have the appropriate cable available. Note that the advantage of the parallel port is its speed. Dynamic control of C Code functions over the serial port will not provide results as "smooth" as the results obtainable through use of the parallel port.

·Serial port COM1 selected.

·Parallel Port LPT1 selected. Note that the parallel port pins D2 and D5 carry the information that the Okika Development Board will be using. These pins will be "bit-banged" by code that is in the PortIO subsystem that is part of the generated Osc example project.
·The About button brings up a standard "About box" which is used to display information about your application. It can be modified through the Resource View IDD_ABOUTBOX dialog resource within Microsoft Visual C++.