Visual C++ 6.0
Building and Deploying the Application
The project is ready to build as soon as it is generated. To build the project, choose Build -> Build ProjectName.exe.
For Visual C++ 6.0, you may need to set the main ProjectName project as the active project. This is done by right-clicking on the project name in the ClassView tab and selecting Set as Active Project. (This is not necessary for Visual C++ .NET.)
To run the application using Visual C++ 6.0, choose Build -> Execute ProjectName.exe from the Visual C++ menu. To distribute the application, the ProjectName.exe file is the only file required. This file will be found in a \Debug or \Release subfolder of the directory in which you chose to generate your project.
Adding User Interface Controls
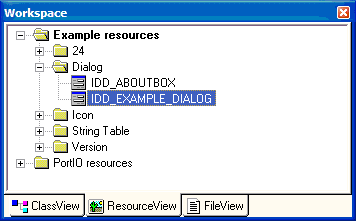
To make your application useful, you may need to add additional user interface controls. In your Visual C++ project, select the ResourceView tab and expand the Dialog folder. Double-click on IDD_PROJECTNAME_DIALOG to open the resource editor for your application.
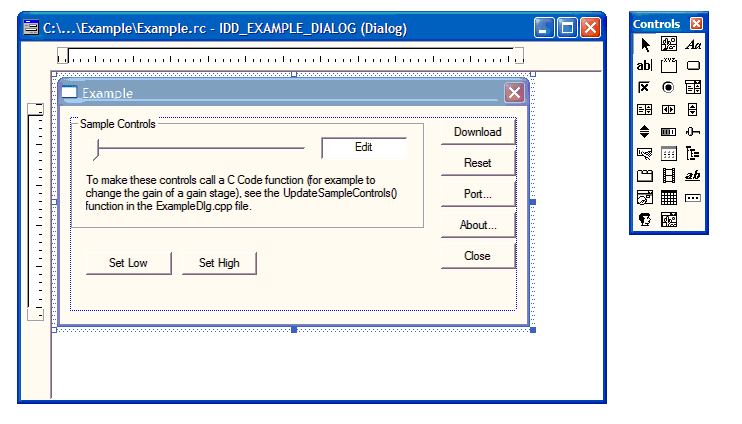
The dialog will already have some controls that are placed by the wizard. Edit or remove these as necessary. For this example, we will add two buttons to the dialog: one to set the values of two gain stages low, and one to set the values high. From the Controls palette, drag a button onto the dialog two times. You can edit the buttons properties by right-clicking a button and selecting Properties from the context menu. After placing the two buttons and editing their captions, the example looks like this:
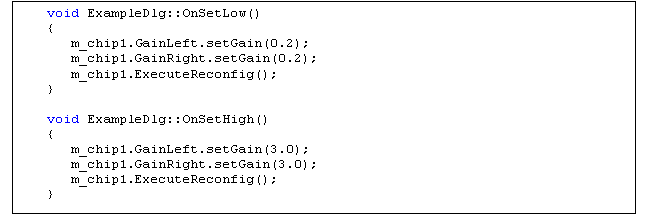
To hook these buttons into your code, the easiest way would be to simply double-click them in the designer. ClassWizard will ask you what would like to call the function that handles the button click. In the example below, the functions were named, OnSetLow, and OnSetHigh. Code was then added to these two functions to call the appropriate gain setting and reconfiguration routines.
Visual C++ 2002 \ 2003
Building and Deploying the Application
The project is ready to build as soon as it is generated. To build the project, choose Build -> Build Solution.
To run the application, choose Debug -> Start Without Debugging. To distribute the application, the ProjectName.exe file is the only file required. This file will be found in a \Debug or \Release subfolder of the directory in which you chose to generate your project.